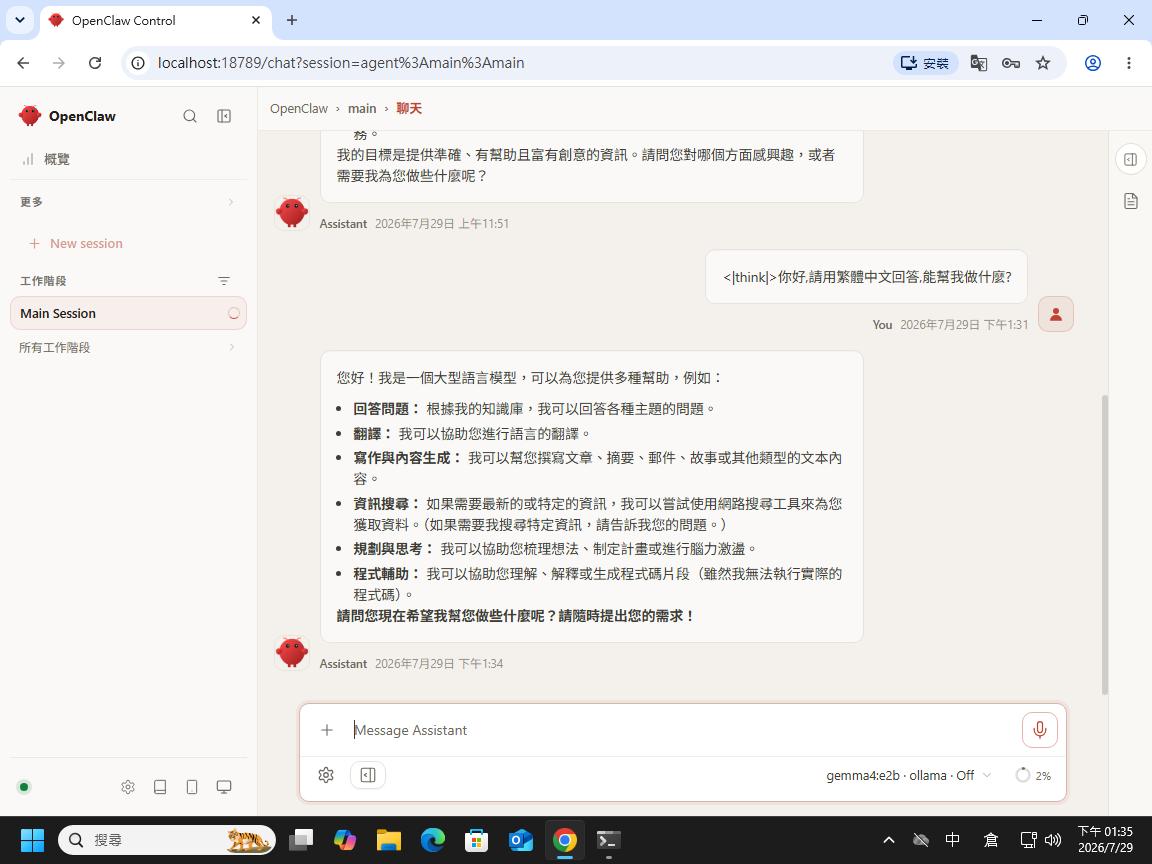
Ollama+OpenClaw安裝
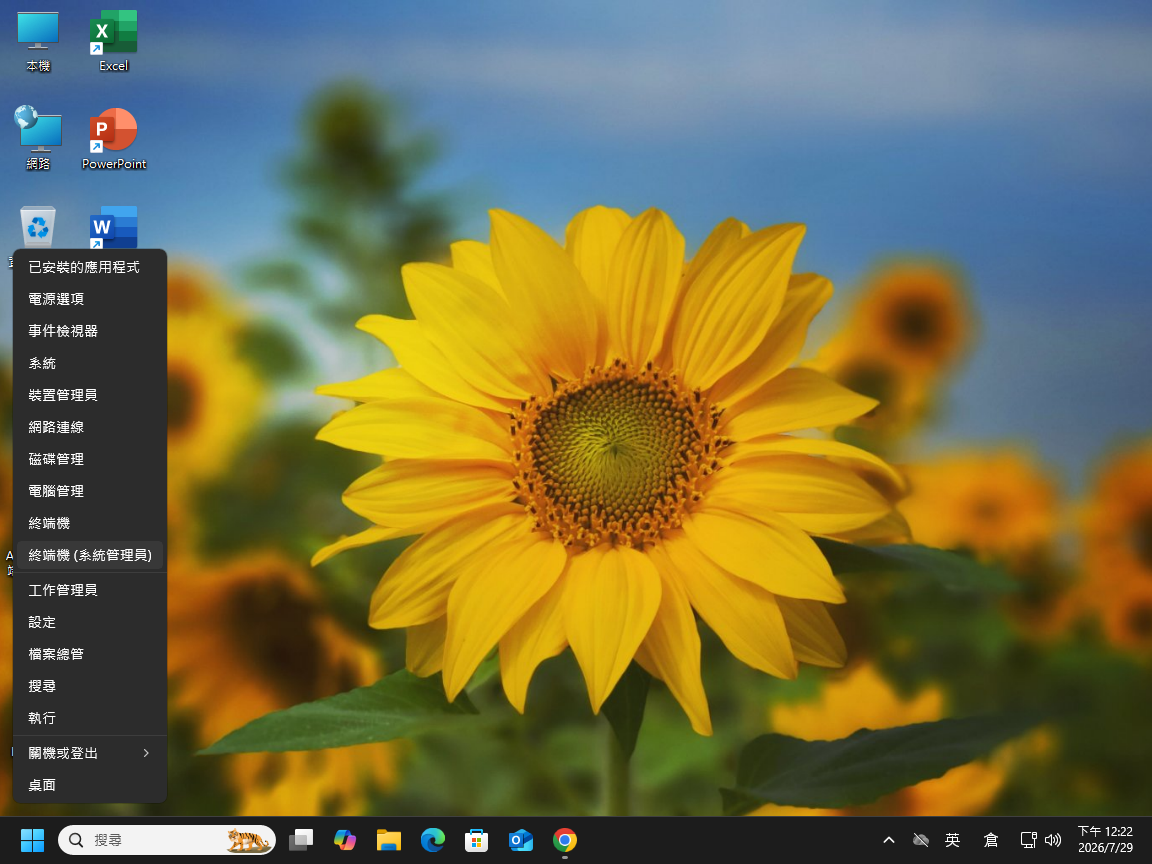
一、在開始圖示按右鍵,選擇[ 終端機(系統管理員) ]。
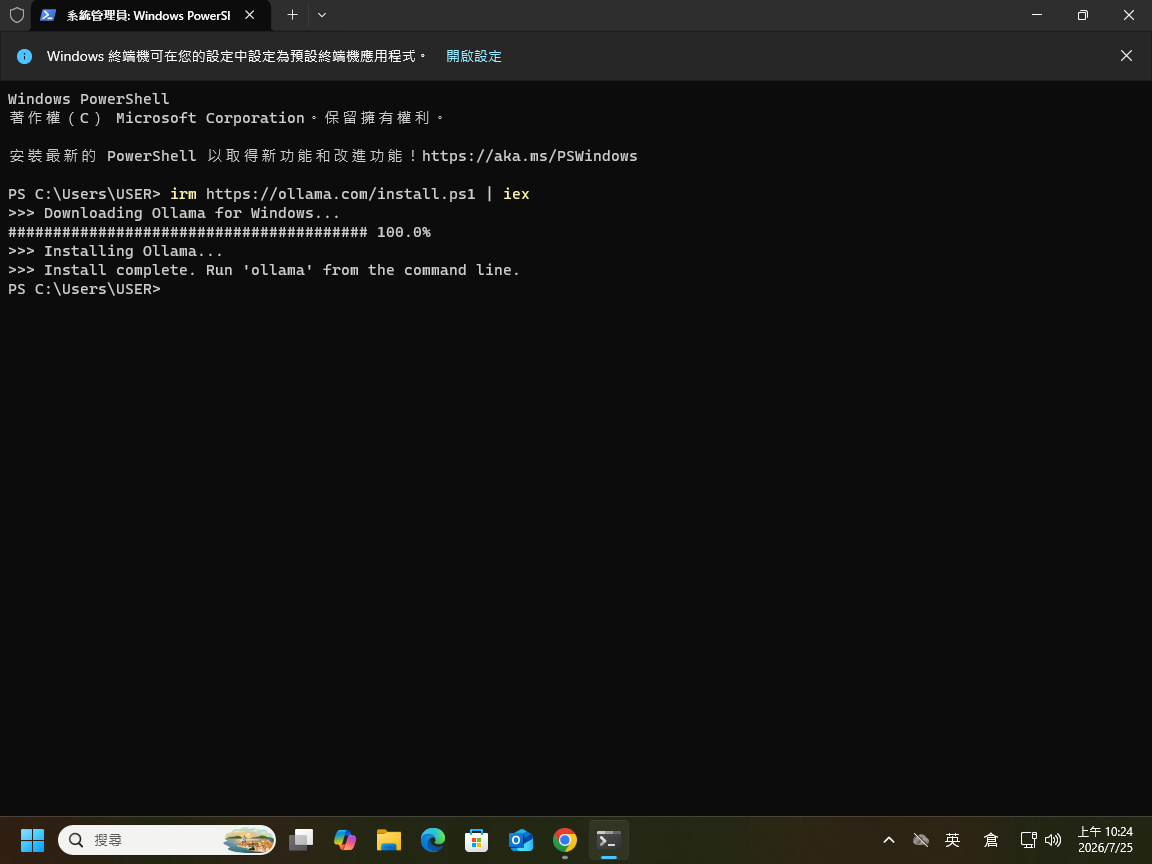
二、在終端機下輸入: irm https://ollama.com/install.ps1 | iex 來安裝Ollama 。
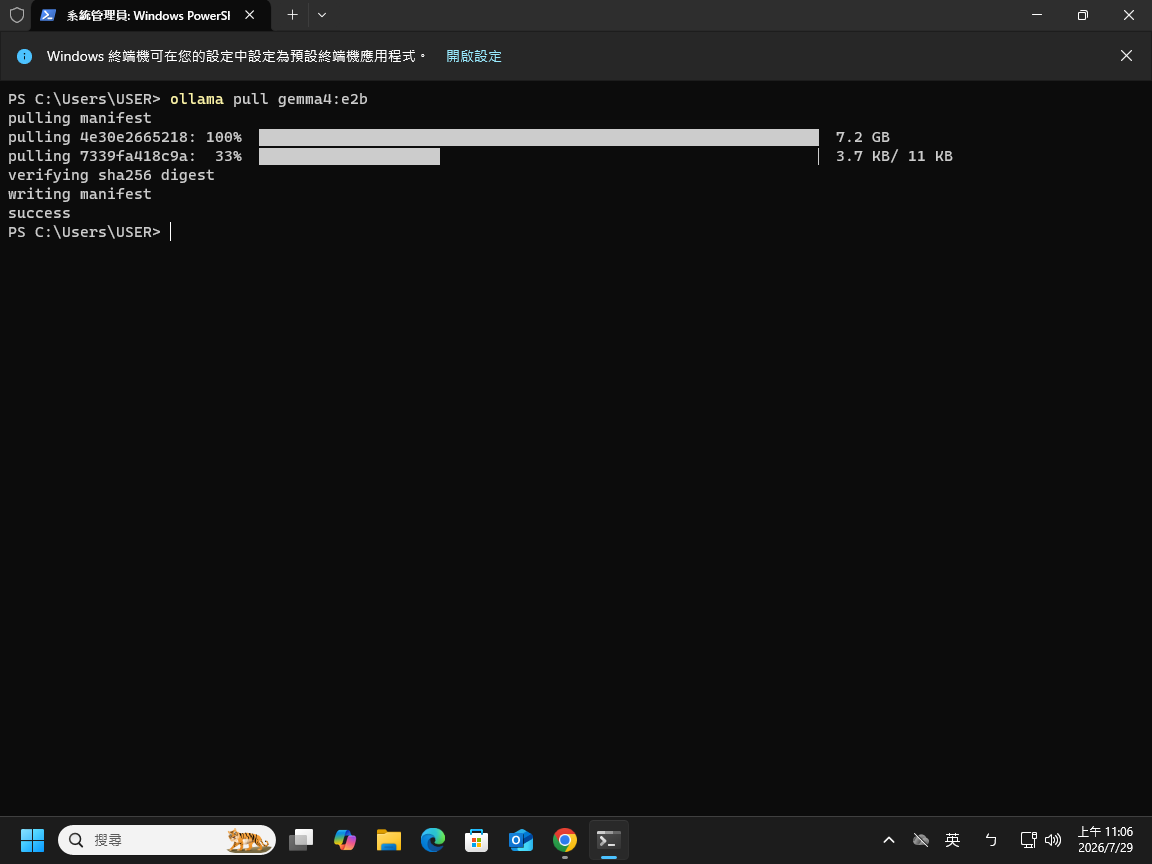
三、在終端機下輸入: ollama pull gemma4:e2b 來安裝 gemma4:e2b 模型。
四、在終端機下輸入: ollama run gemma4:e2b 來測試對話 。
在>>>輸入: 你好,介紹一下自己。
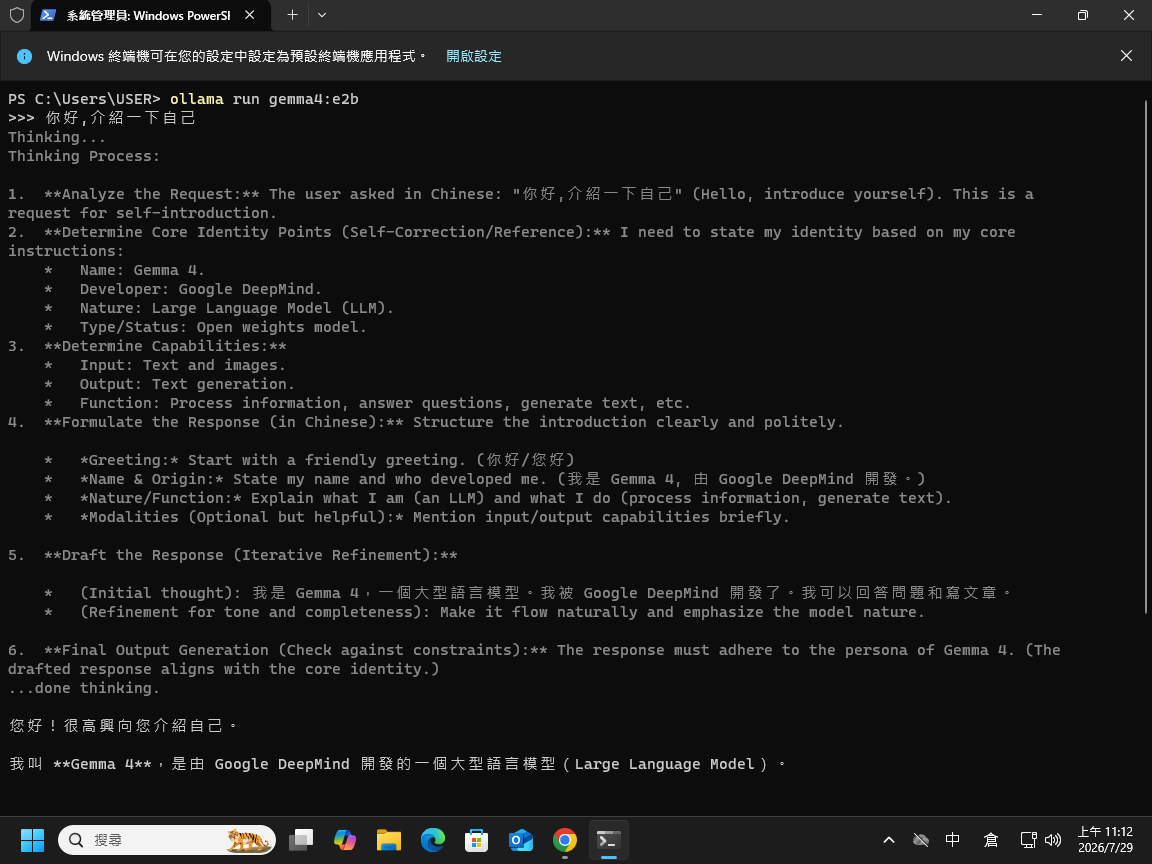
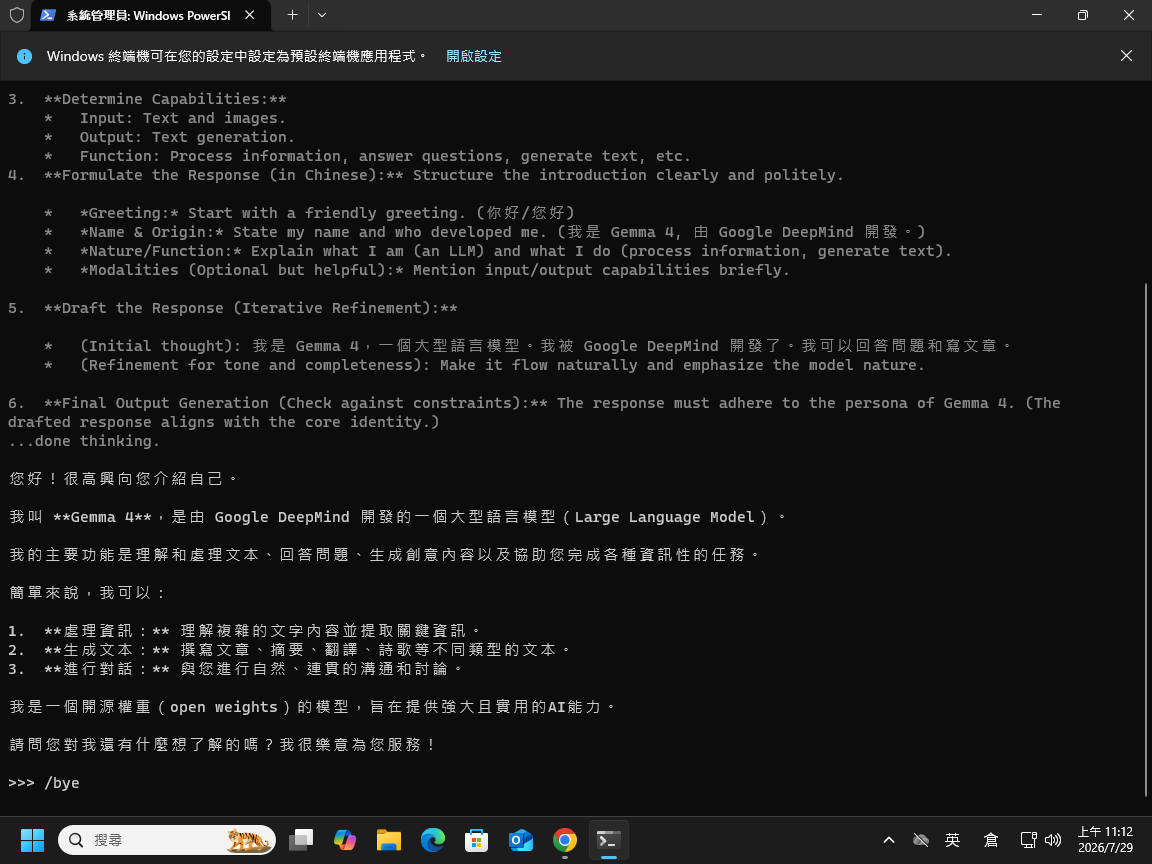
五、在>>>輸入: /bye 離開對話模式。
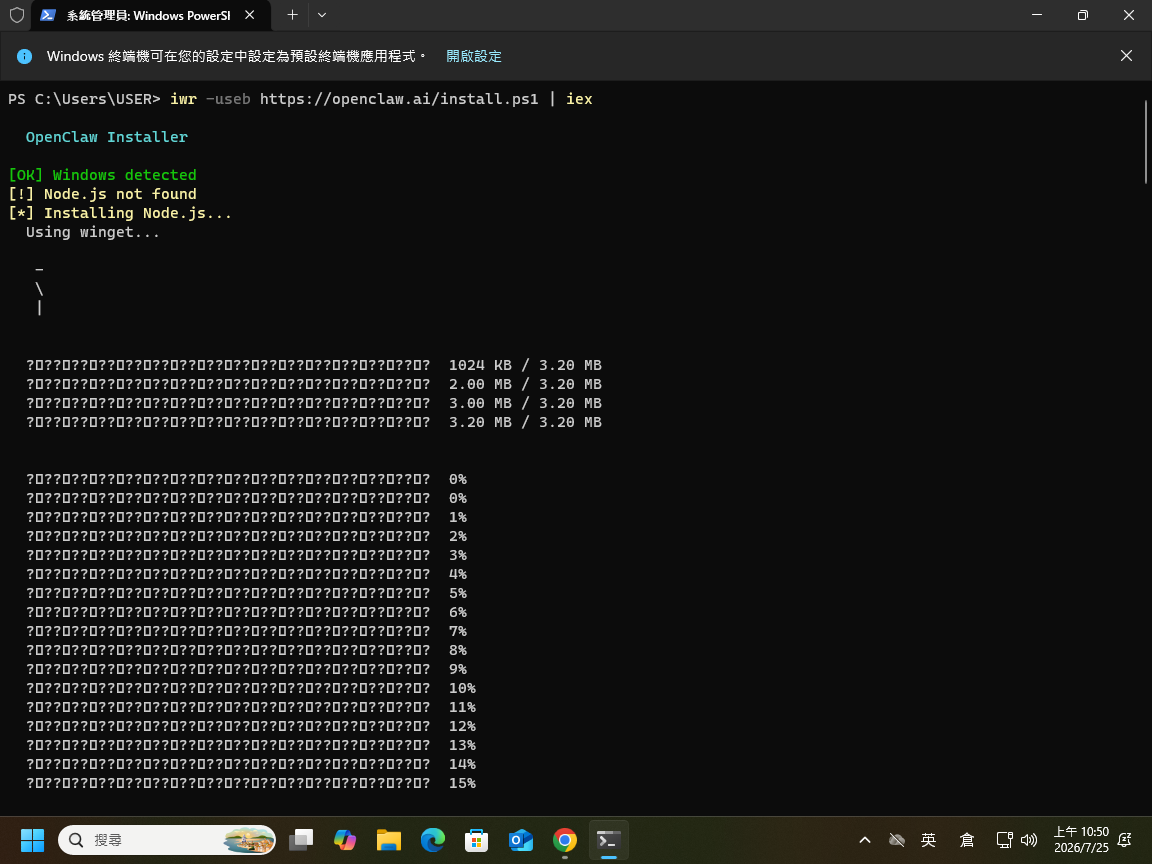
六、在終端機下輸入: iwr -useb https://openclaw.ai/install.ps1 | iex 來安裝 OpenClaw 。
按允許 。
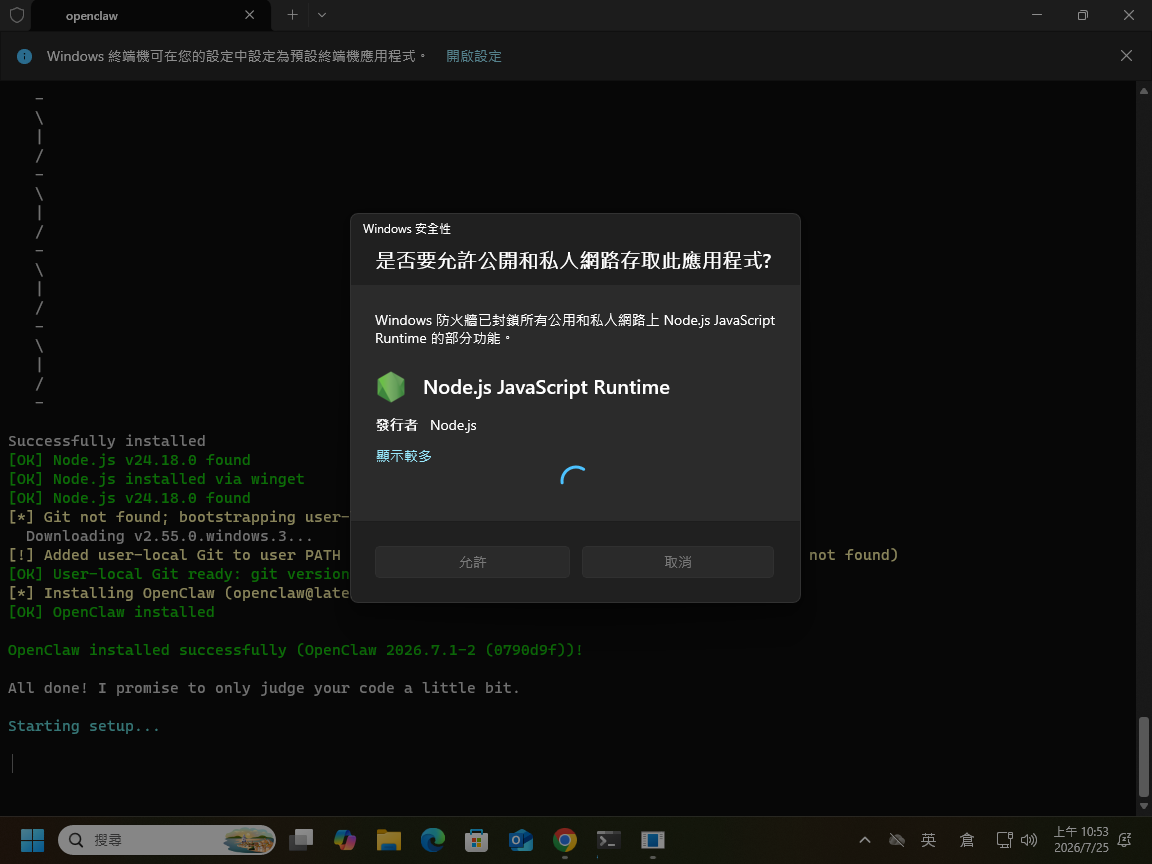
輸入 /quit 離開對話模式。
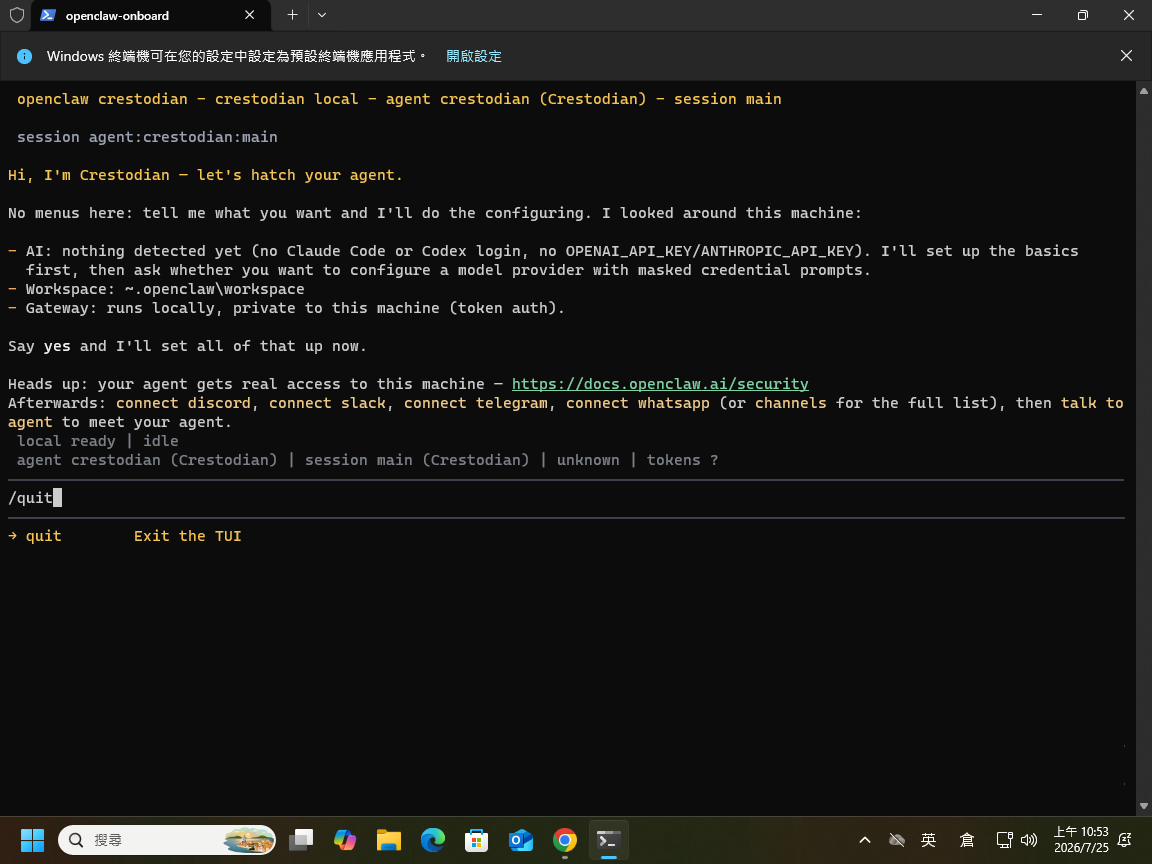
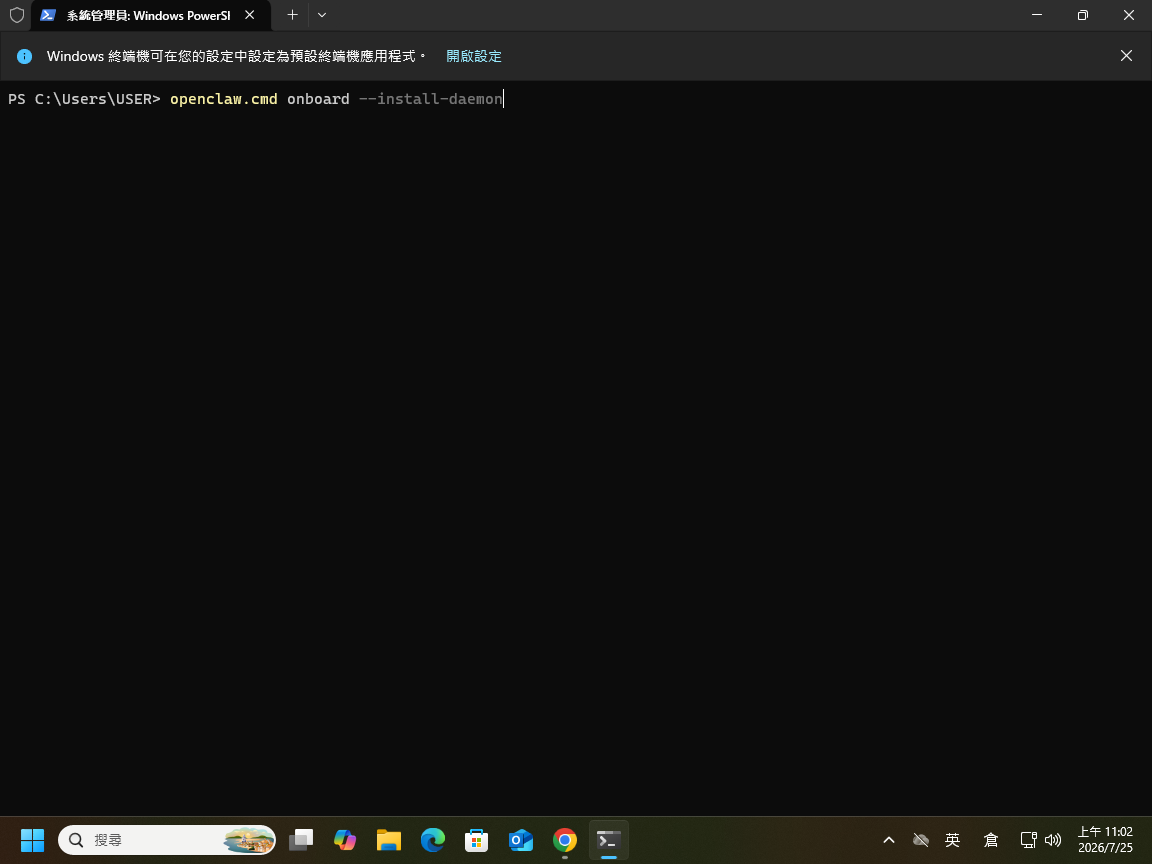
七、在終端機下輸入: openclaw.cmd onboard --install-daemon 重新進入設定精靈 。
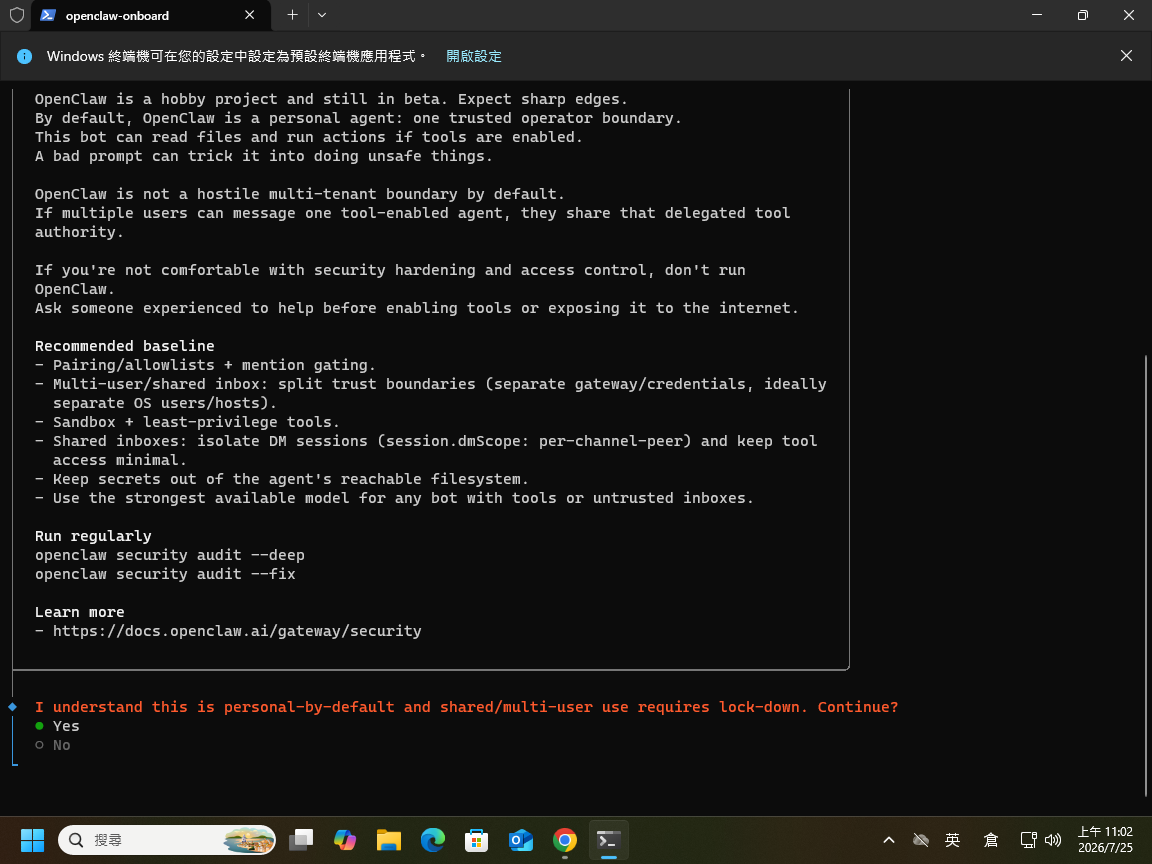
選 Yes 。
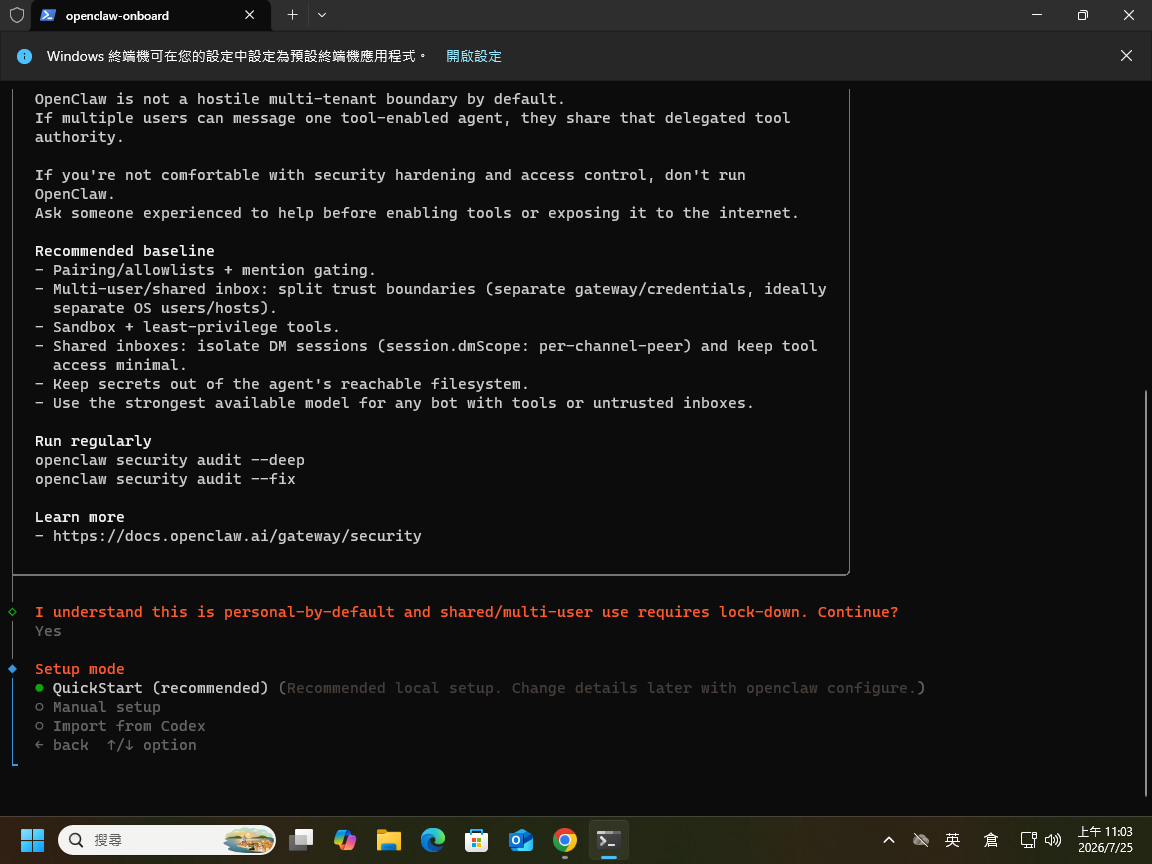
選 QuickStart (recommended) 。
八、設定模型。
選 More... 。
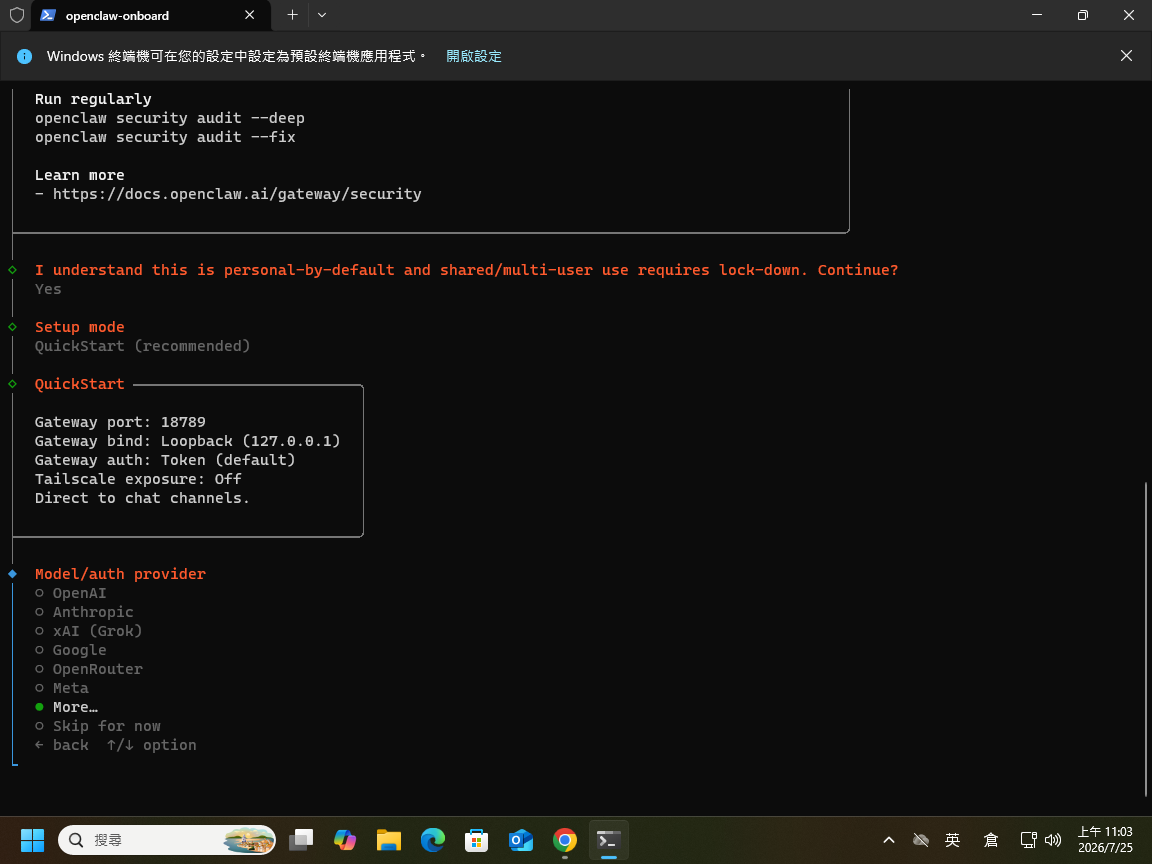
選 Ollama 。
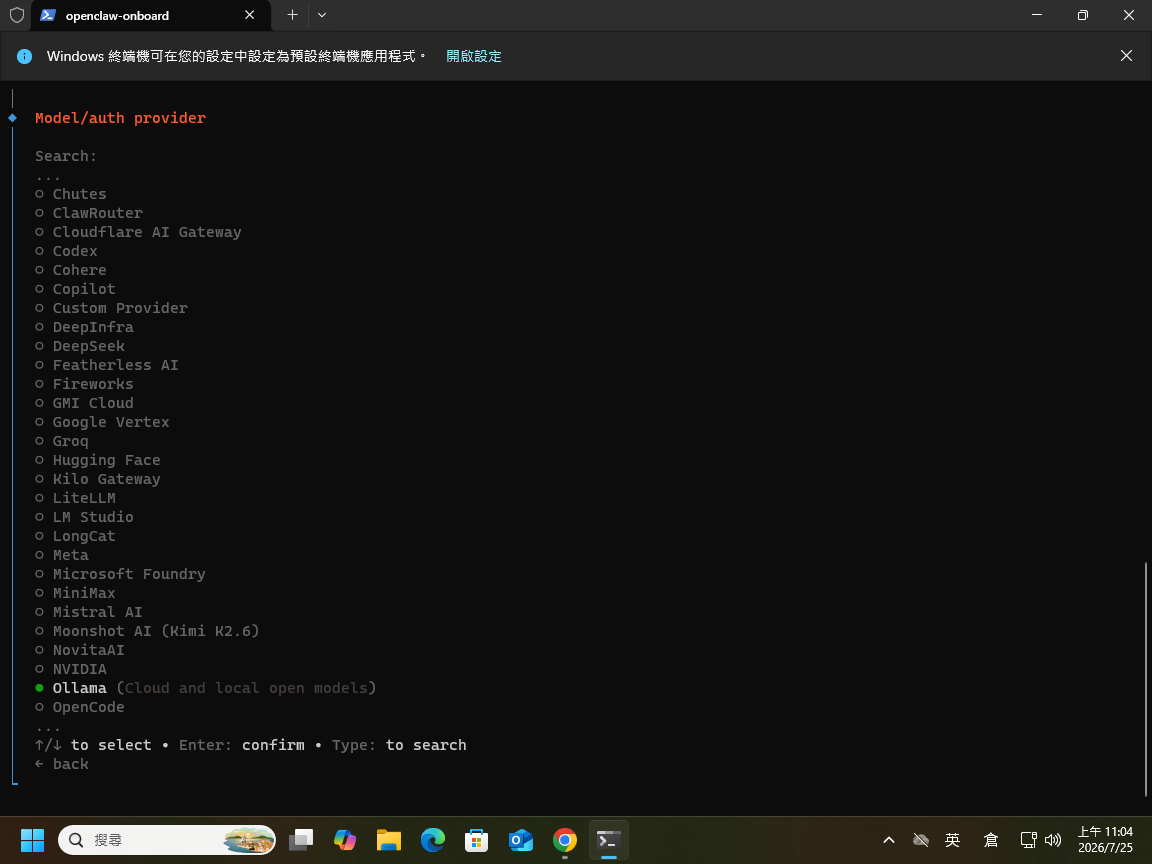
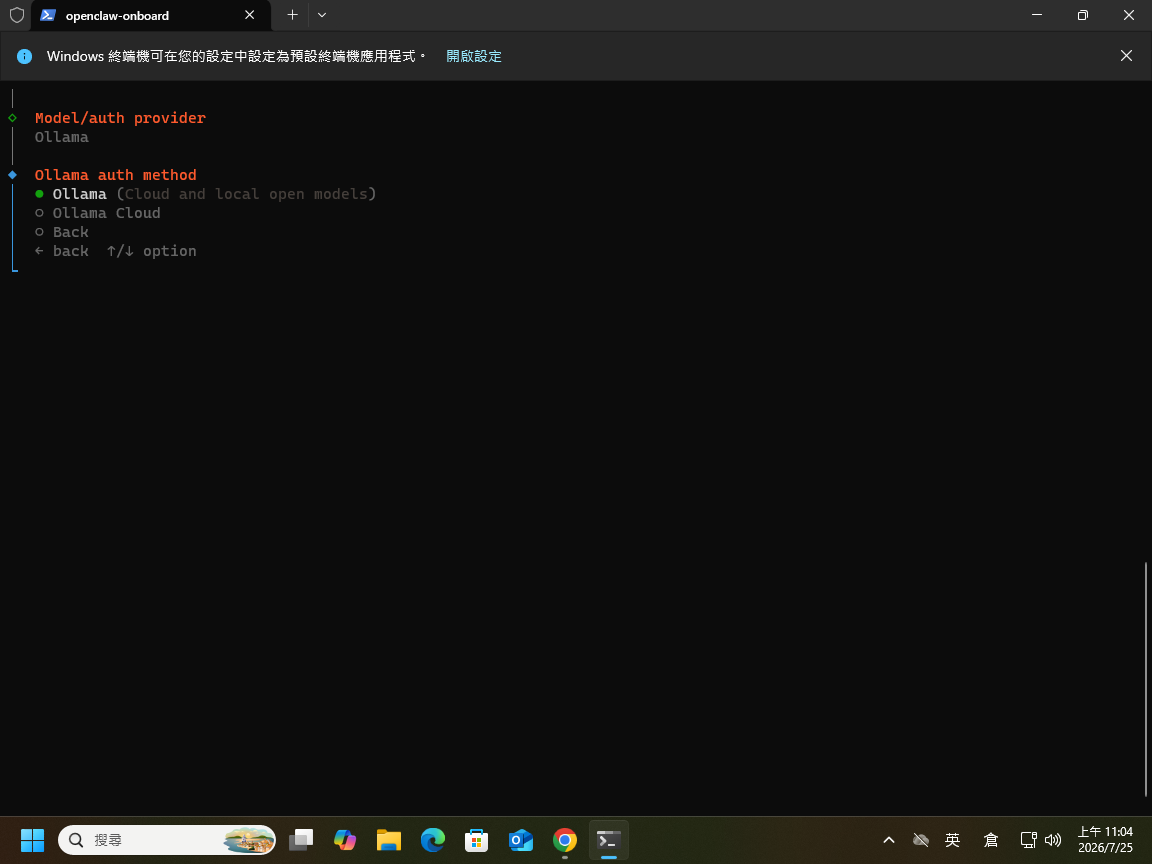
選 Ollama 。
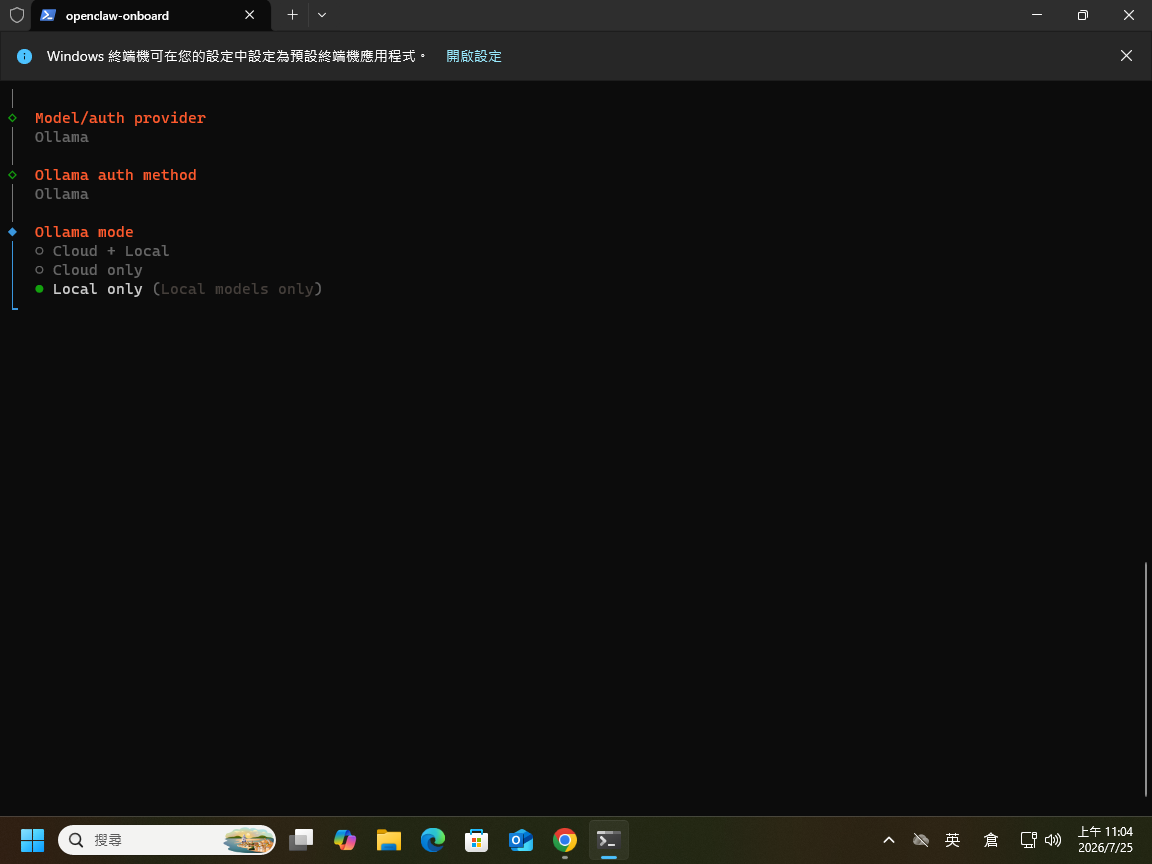
選 Local only 。
輸入: http://127.0.0.1:11434 。
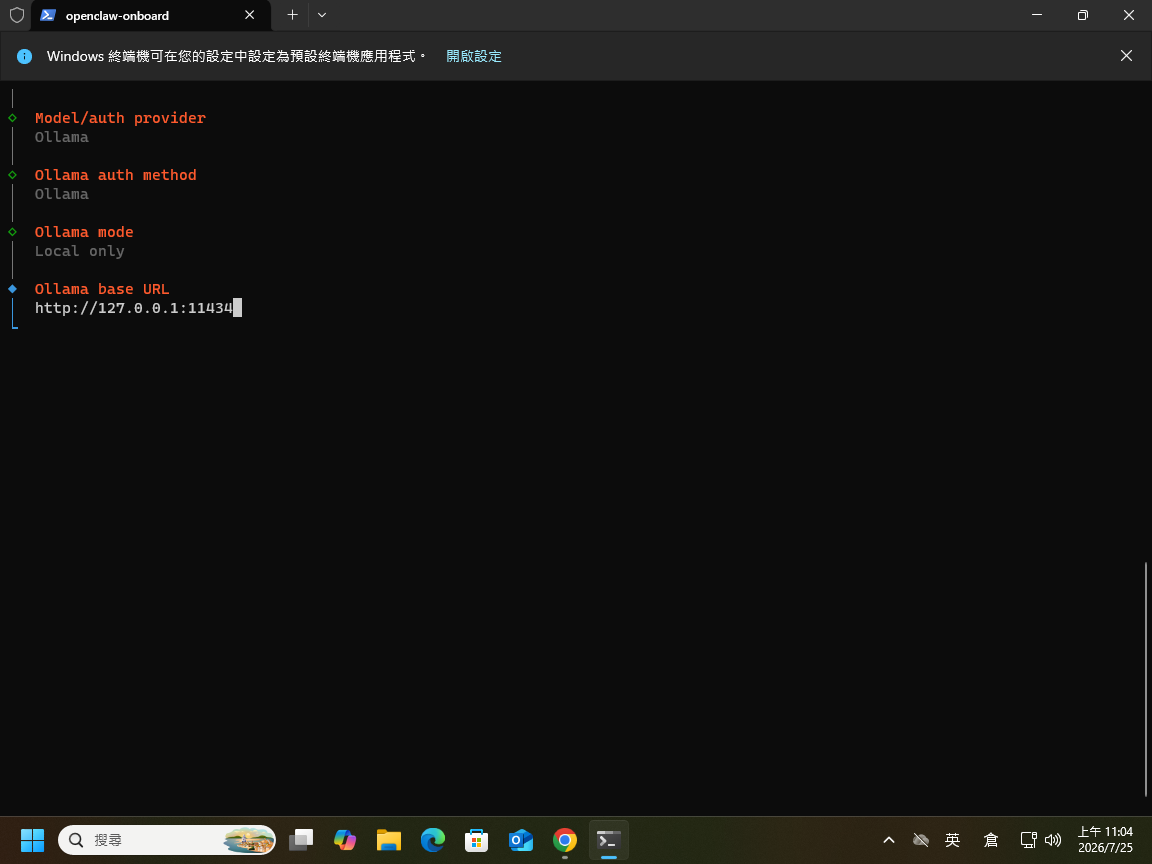
選 Browse all models 。
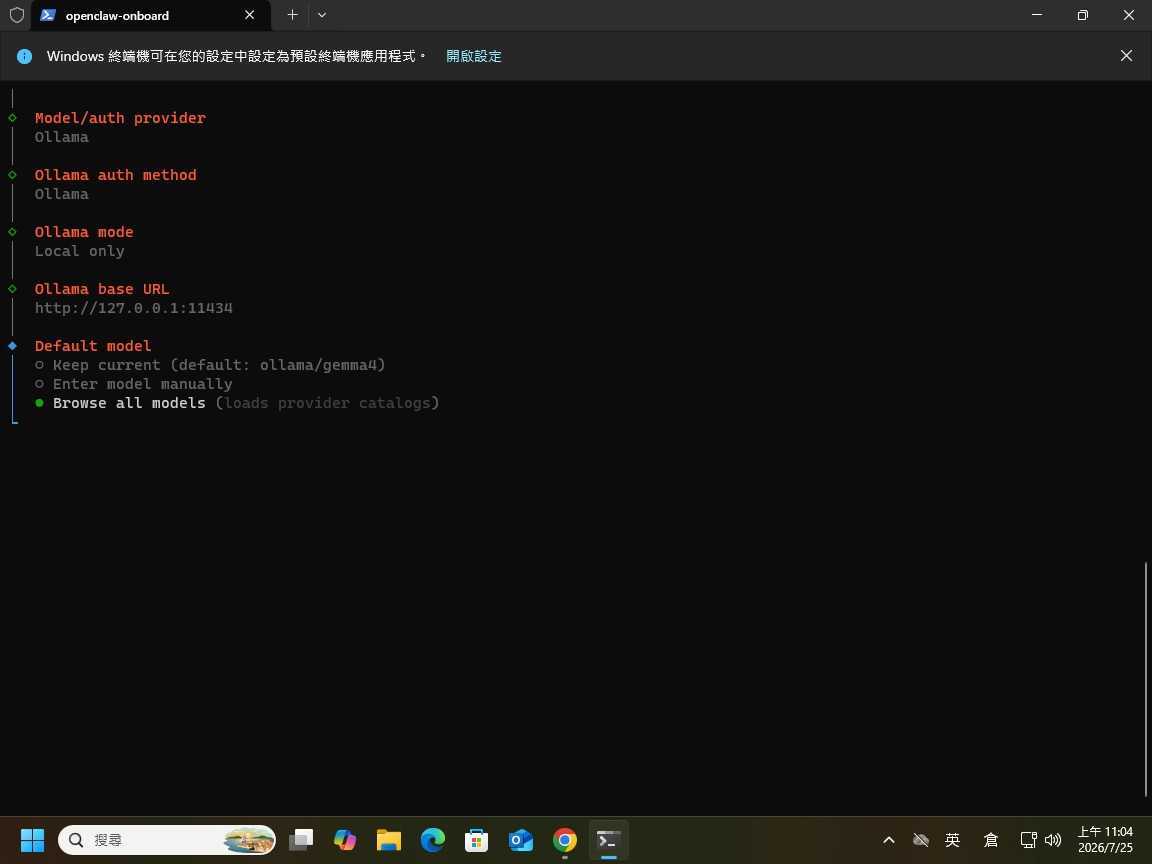
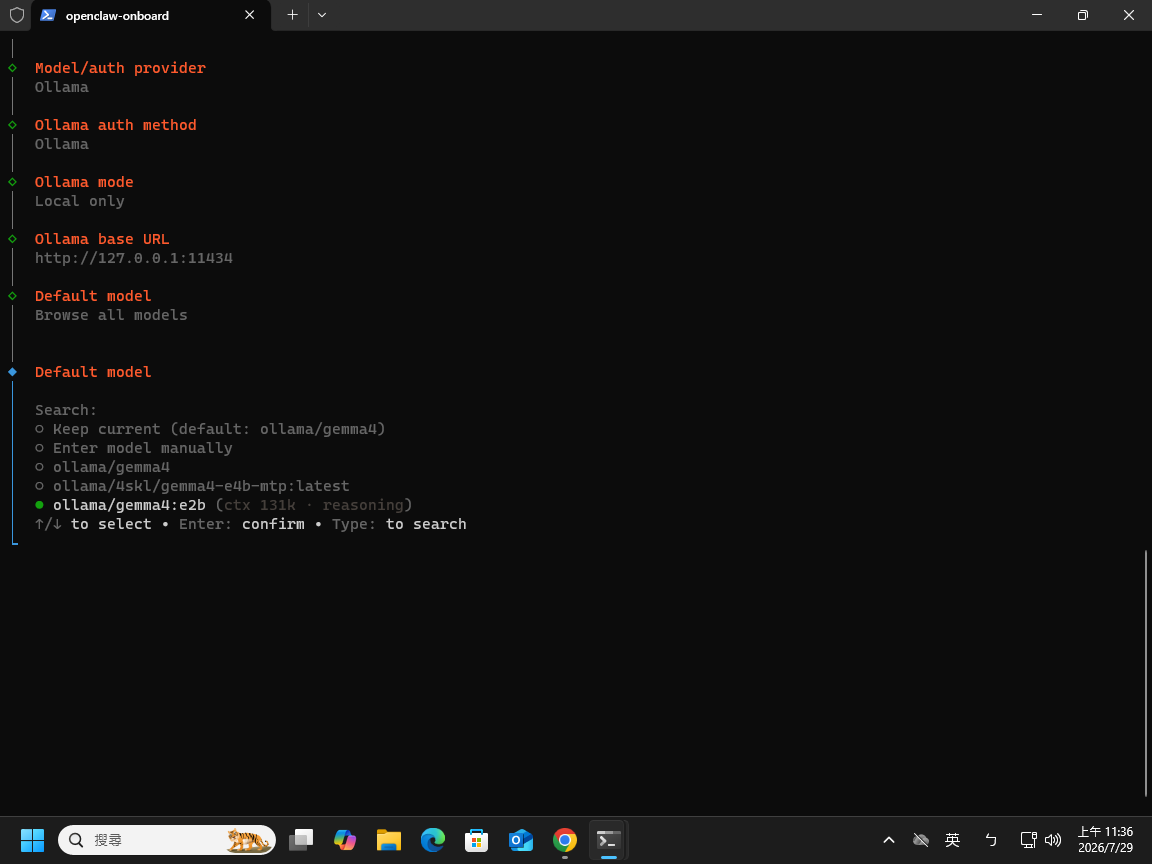
選 ollama/gemma4:e2b 模型 。
九、透過 WhatsApp 通訊軟體串接 OpenClaw 。
選 WhatsApp (QR link) 。
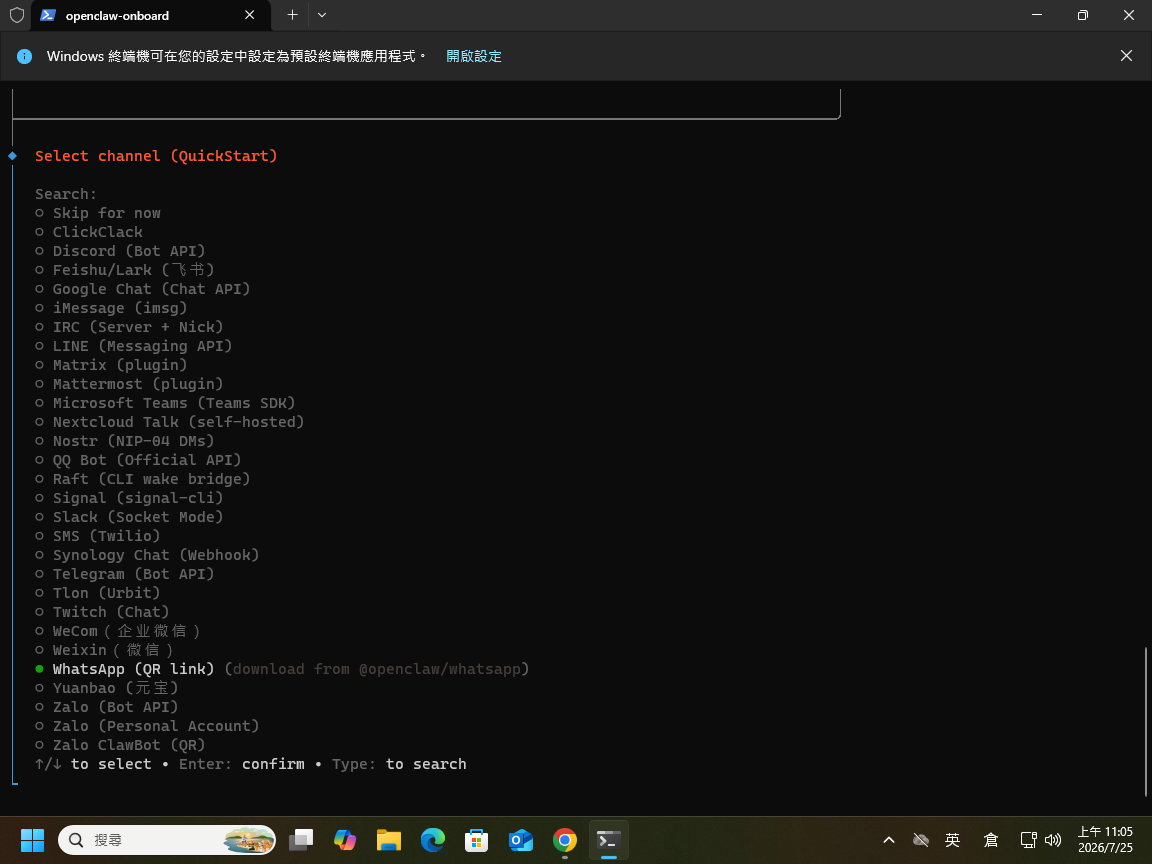
選 Download form ClawHub 。
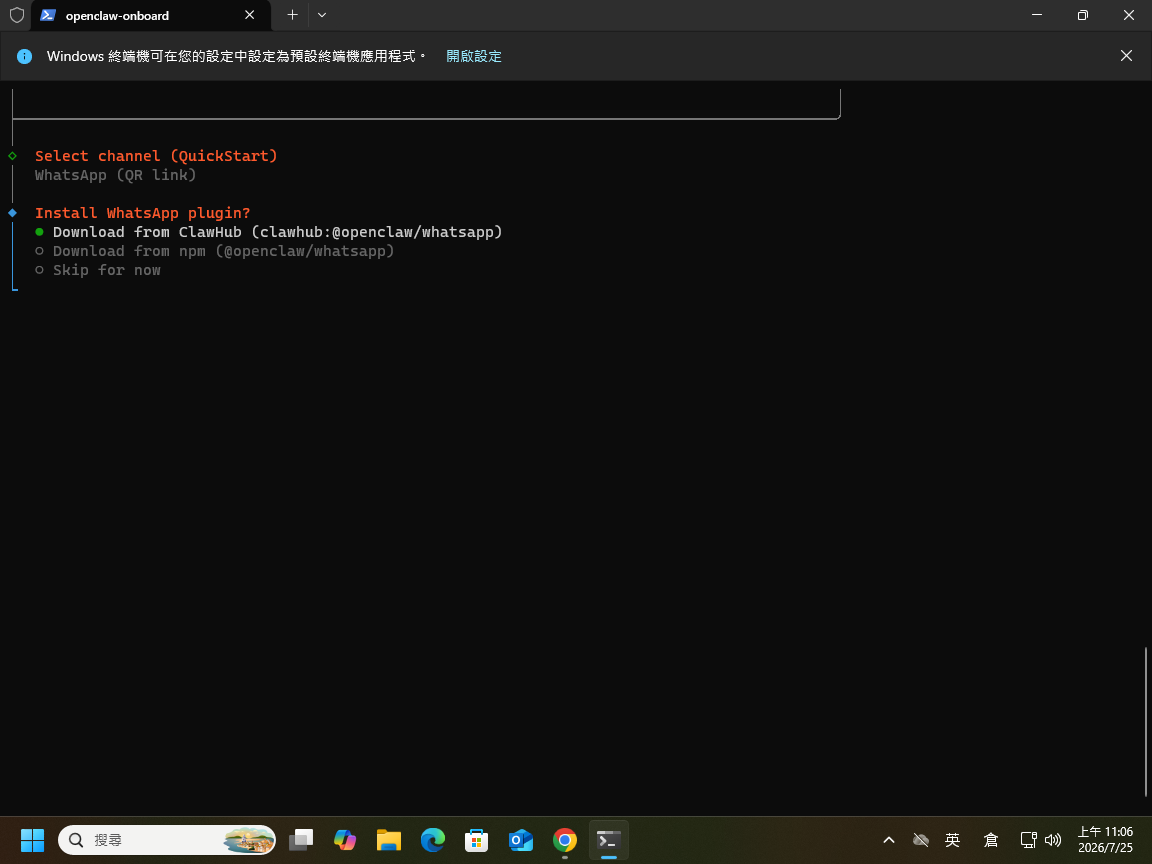
選 Yes 。
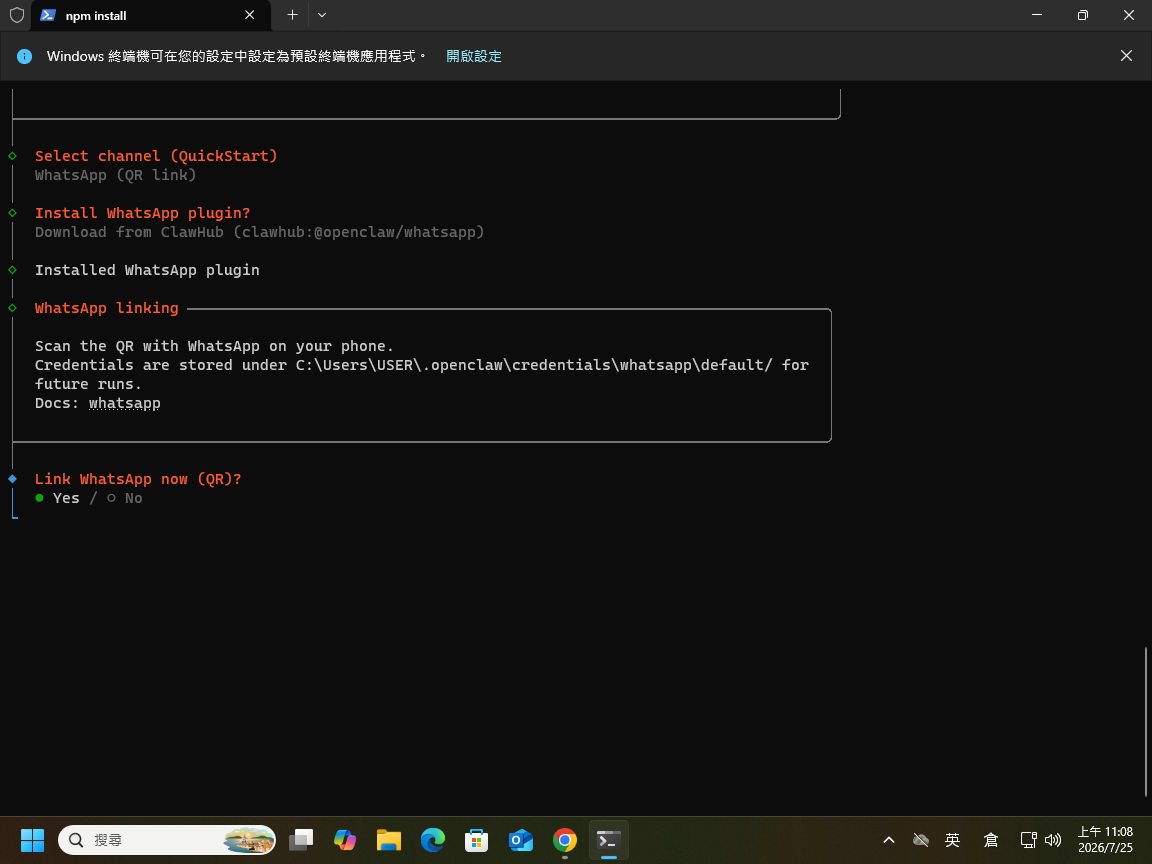
用手機 WhatsApp 掃 QR Code 後,選 This is my personal phone number 。
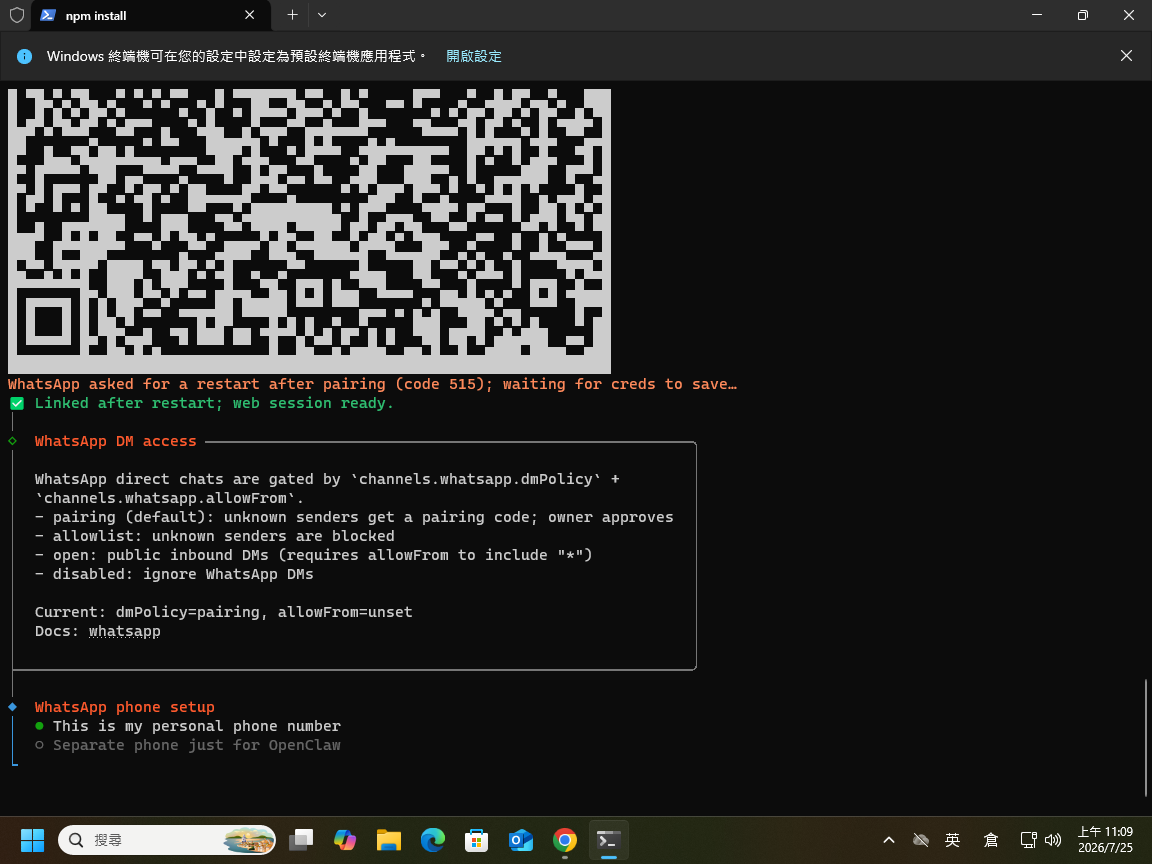
輸入您手機號碼(例: +8869353xxxx2) 。
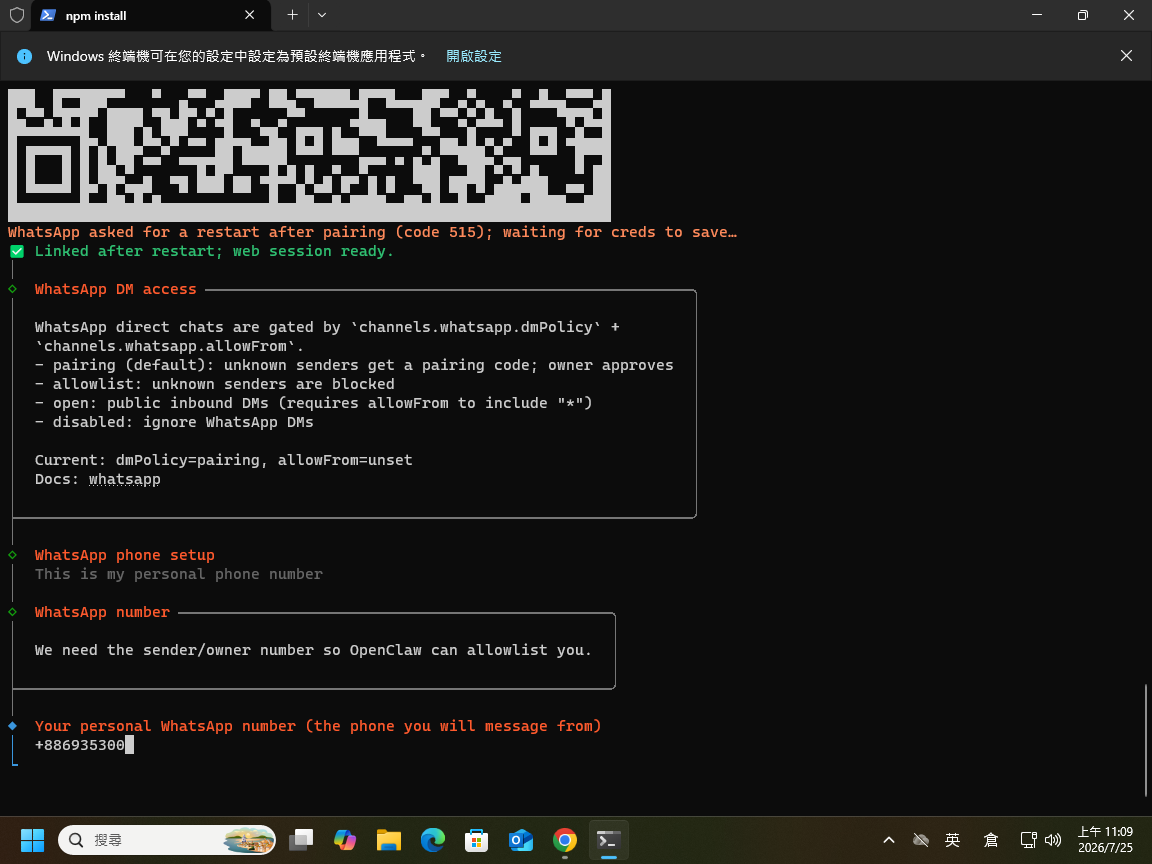
選 Skip for now 。
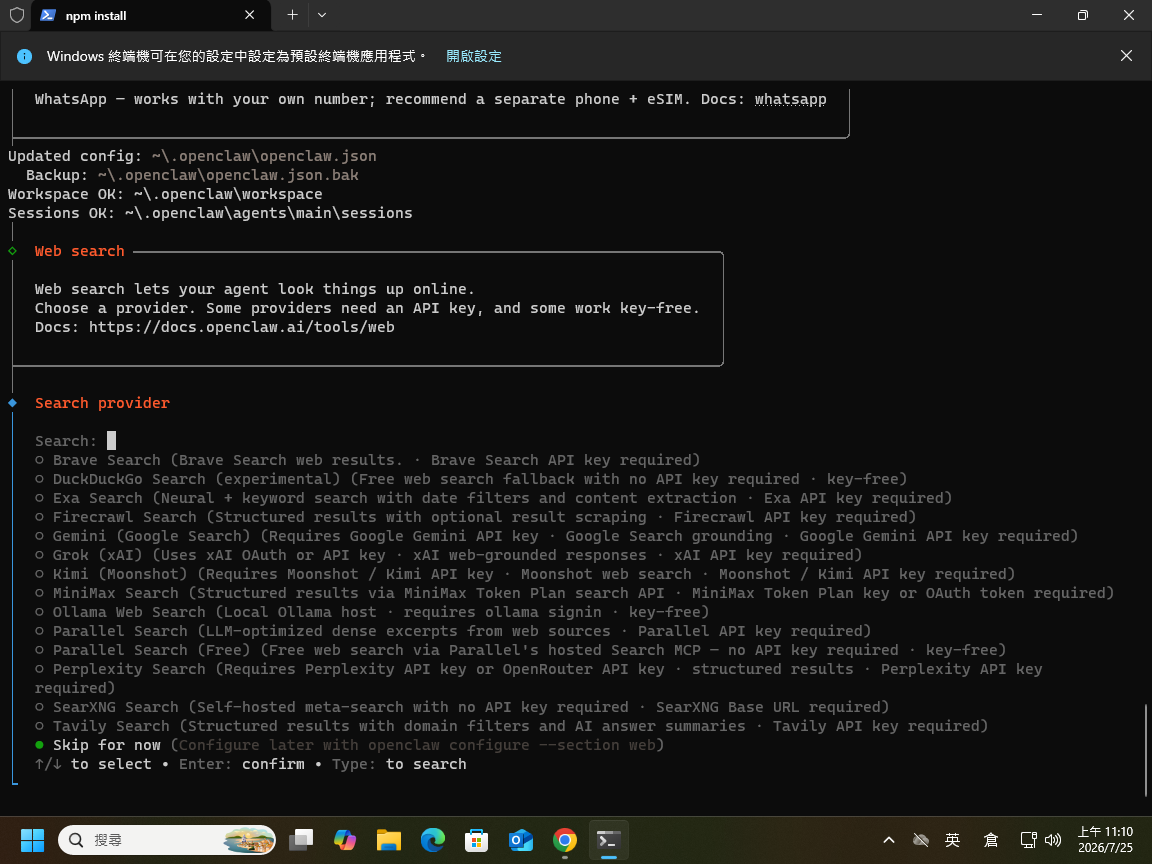
十、開始進入文字對話模式 。
輸入: <|think|>你好,請用繁體中文介紹一下自己 。
輸入: <|think|>以後所有回答都用繁體中文,並存入記憶中。
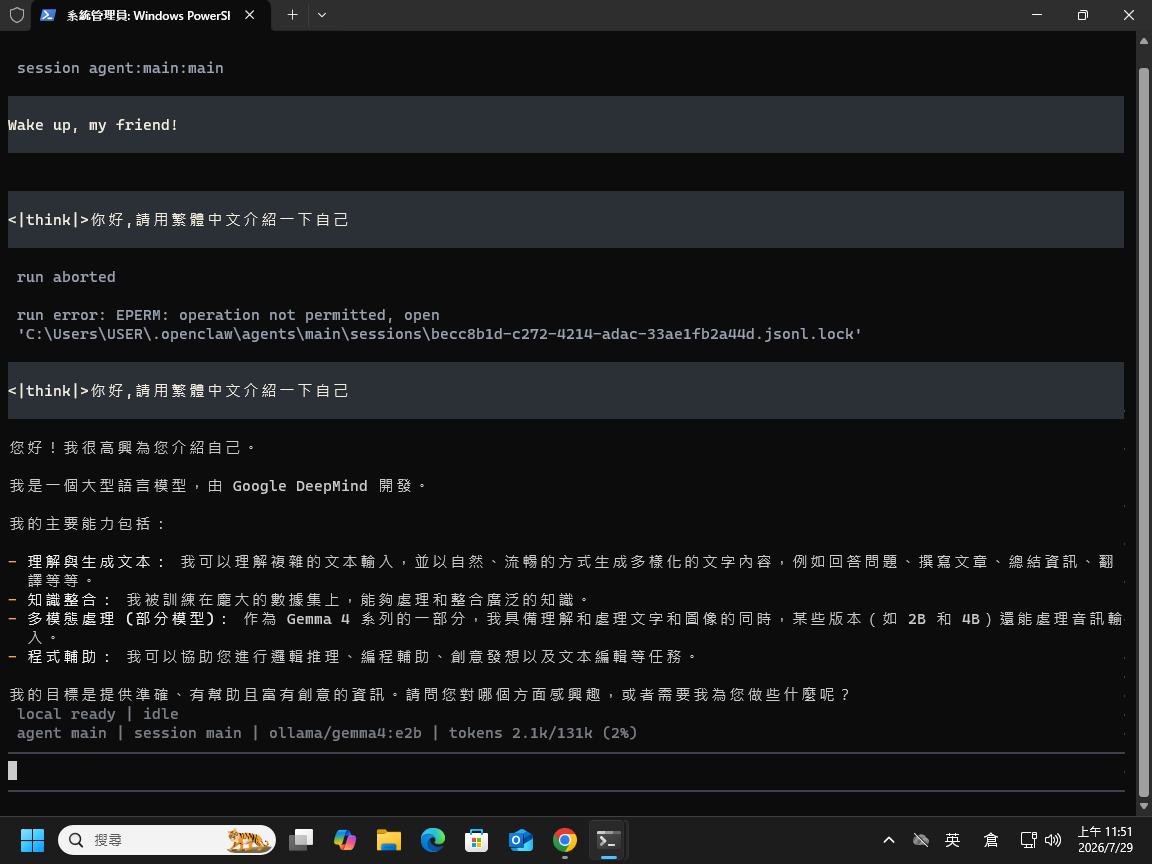
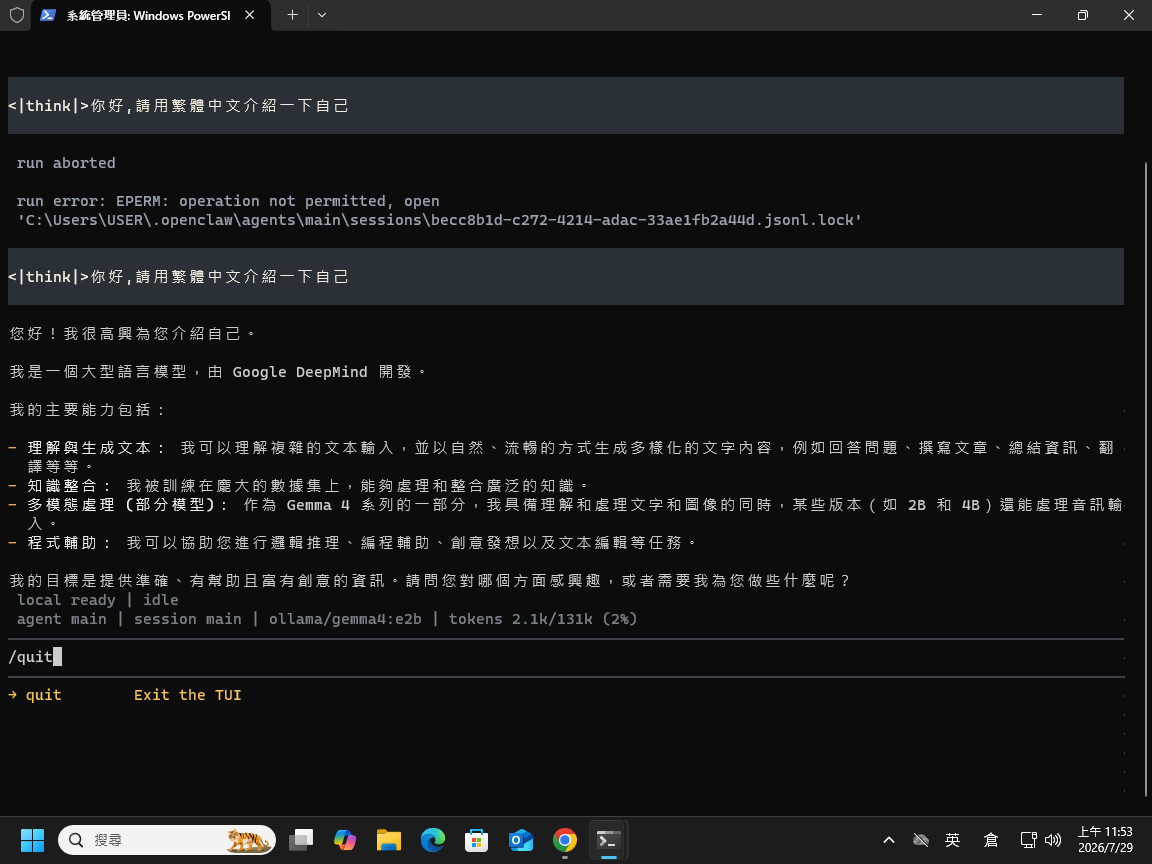
輸入: /quit 離開對話模式 。
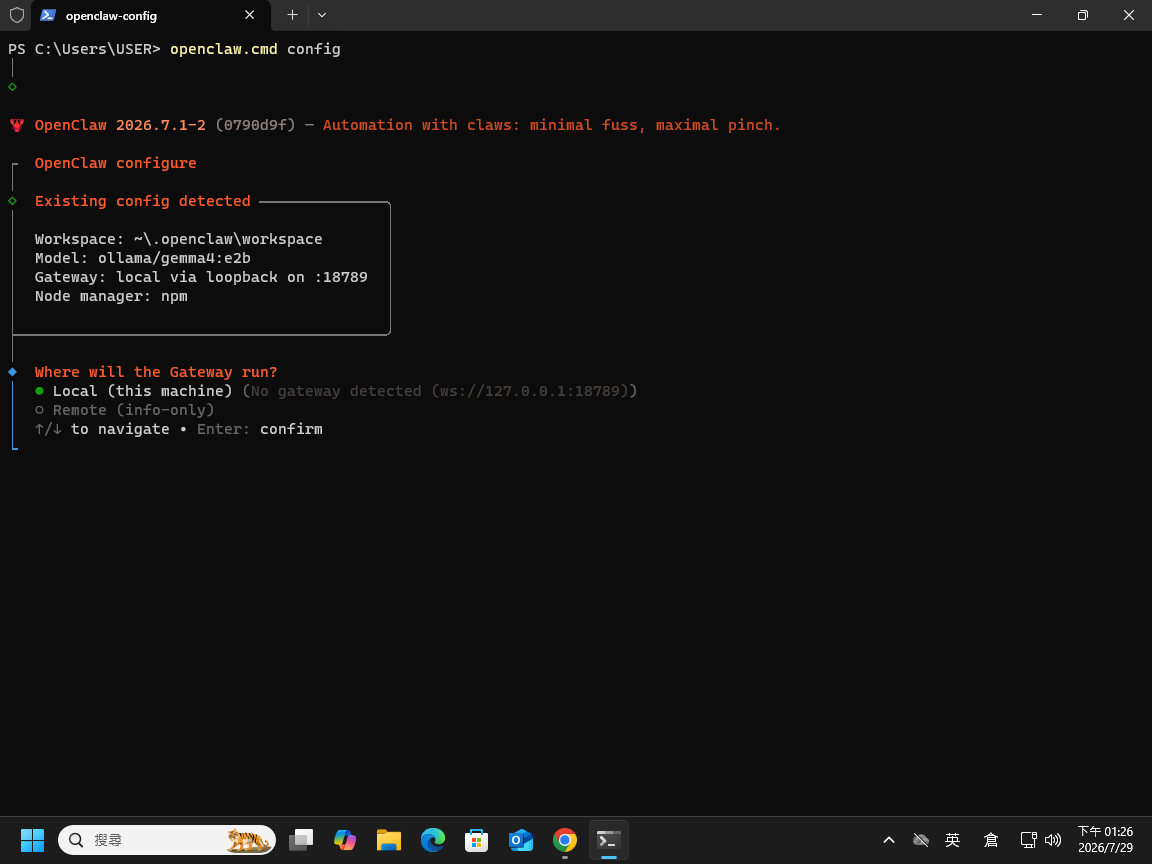
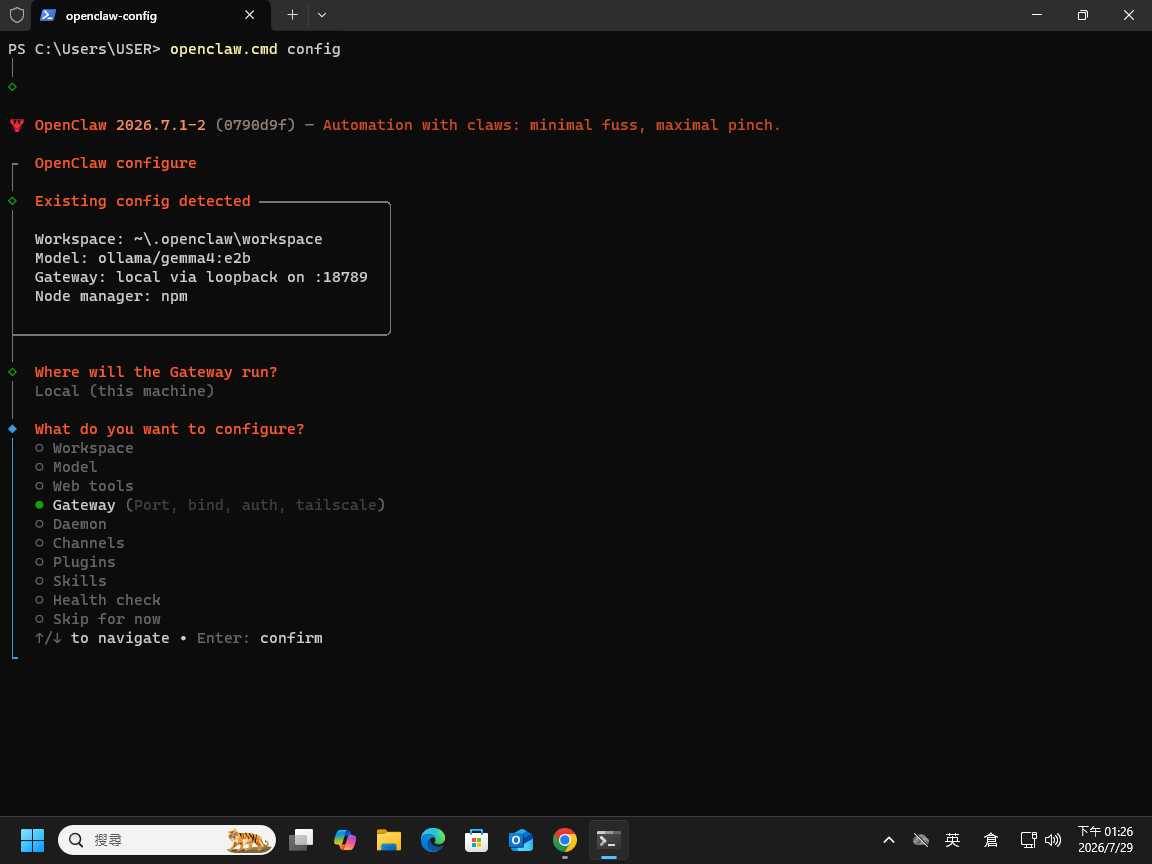
十一、在終端機下輸入: openclaw.cmd config 來設定瀏覽器對話模式。
選 Local (this machine) 。
選 Gateway 設定 Gateway port 18789 。
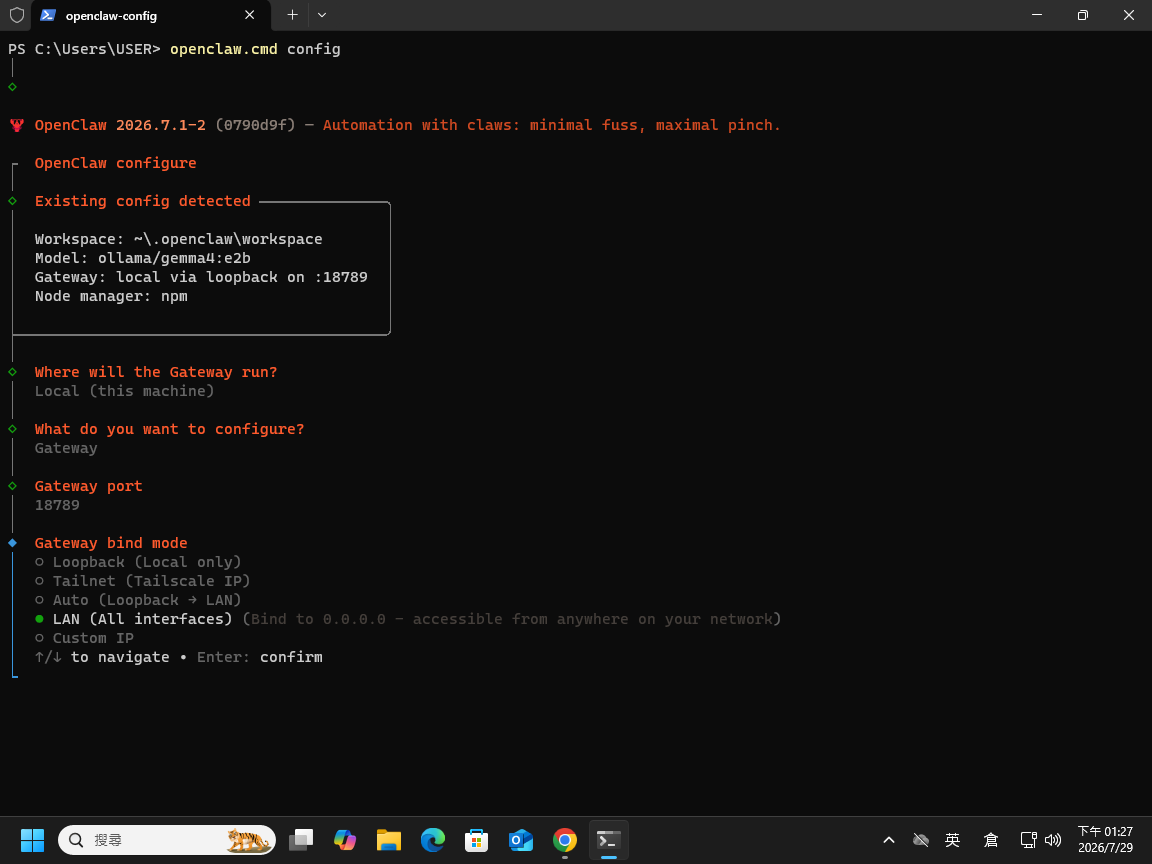
選 LAN (All interfaces) 。
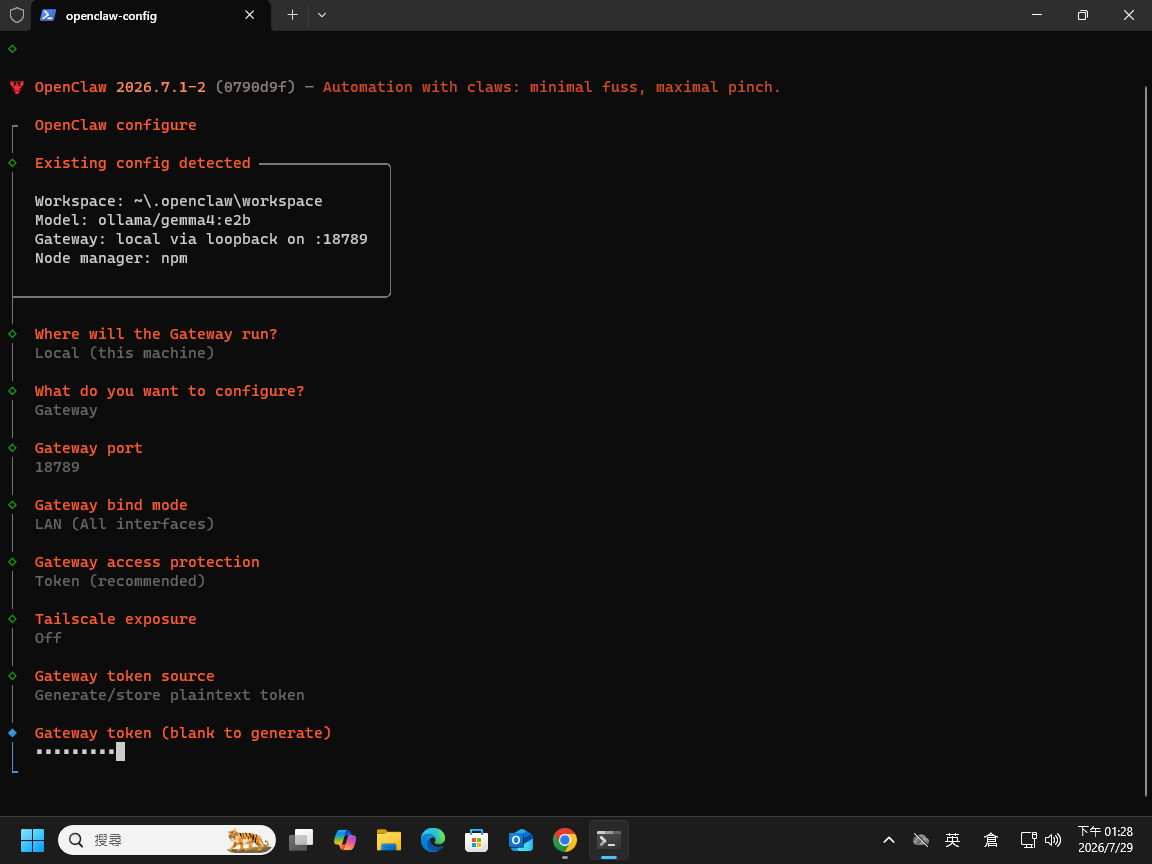
在 Gateway token (blank to generate) 下,輸入網關令牌 。
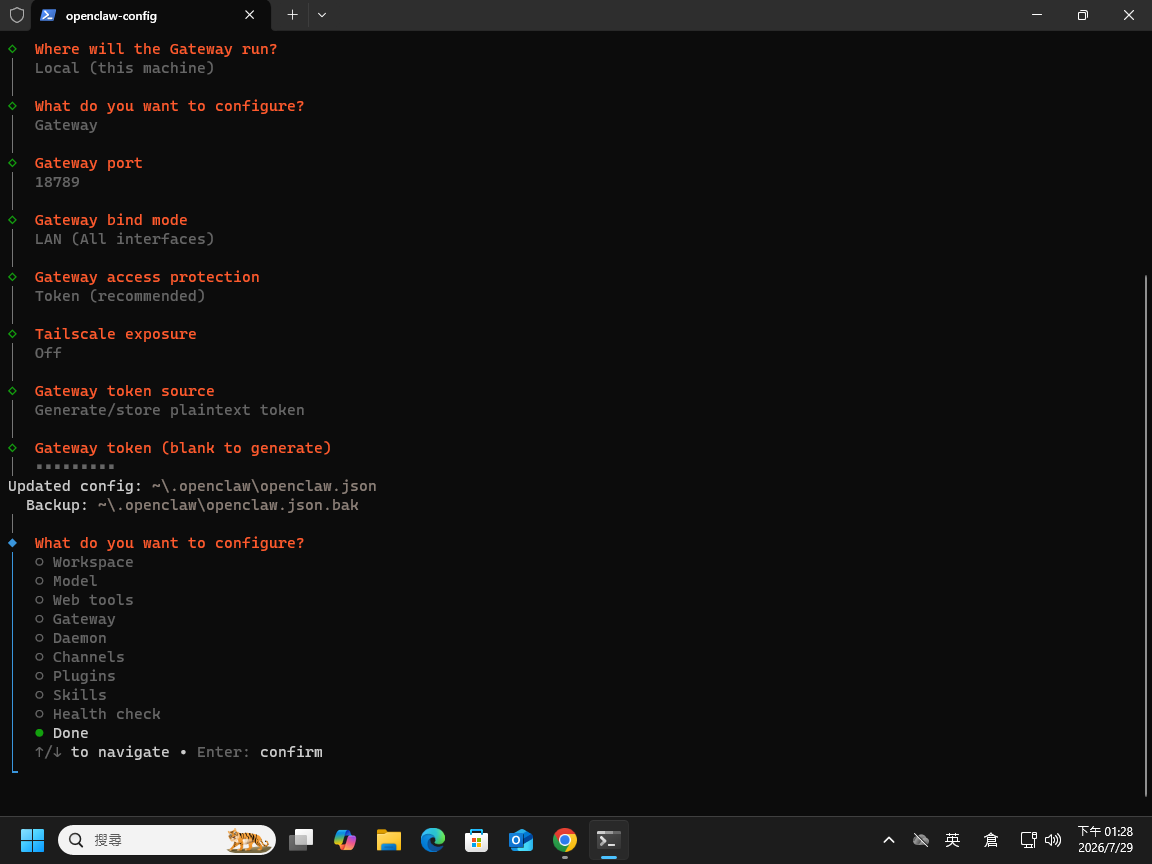
選 Done 離開設定 。
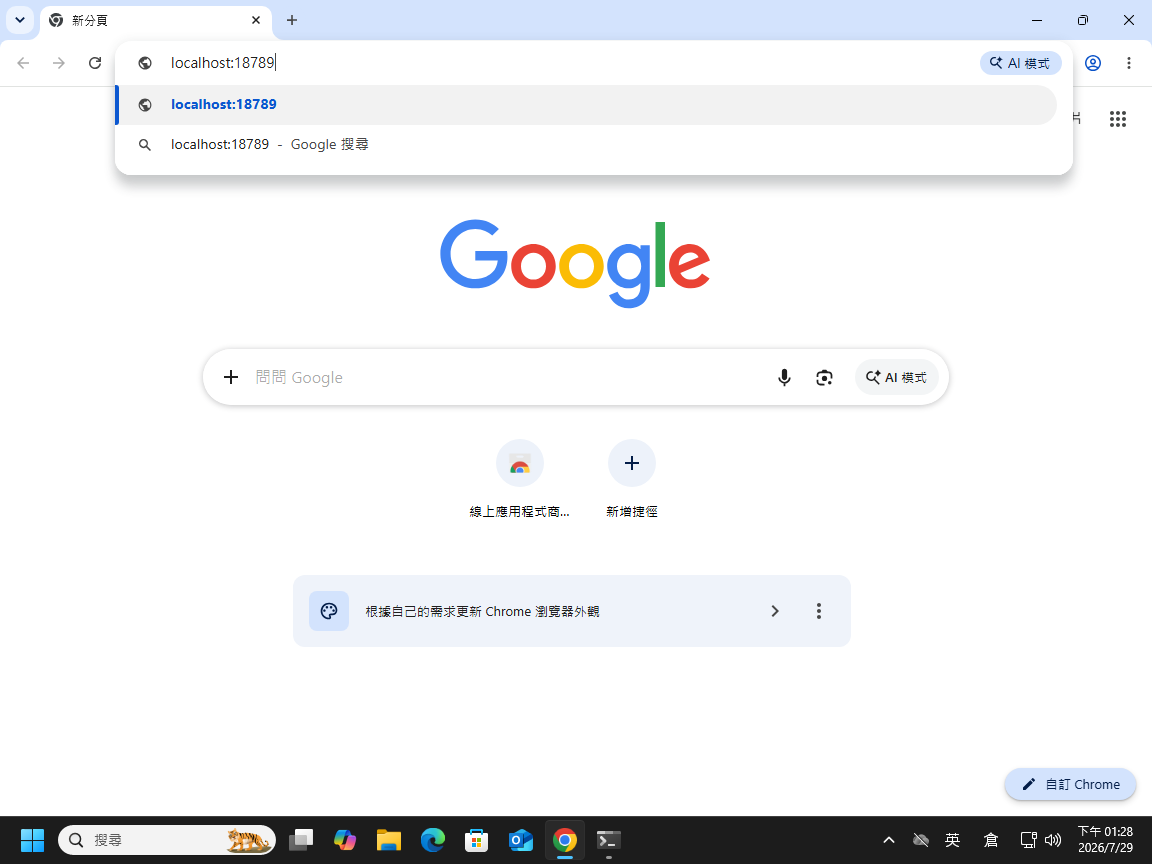
十二、打開Google Chrome瀏覽器。
在網址列輸入: http://localhost:18789 。
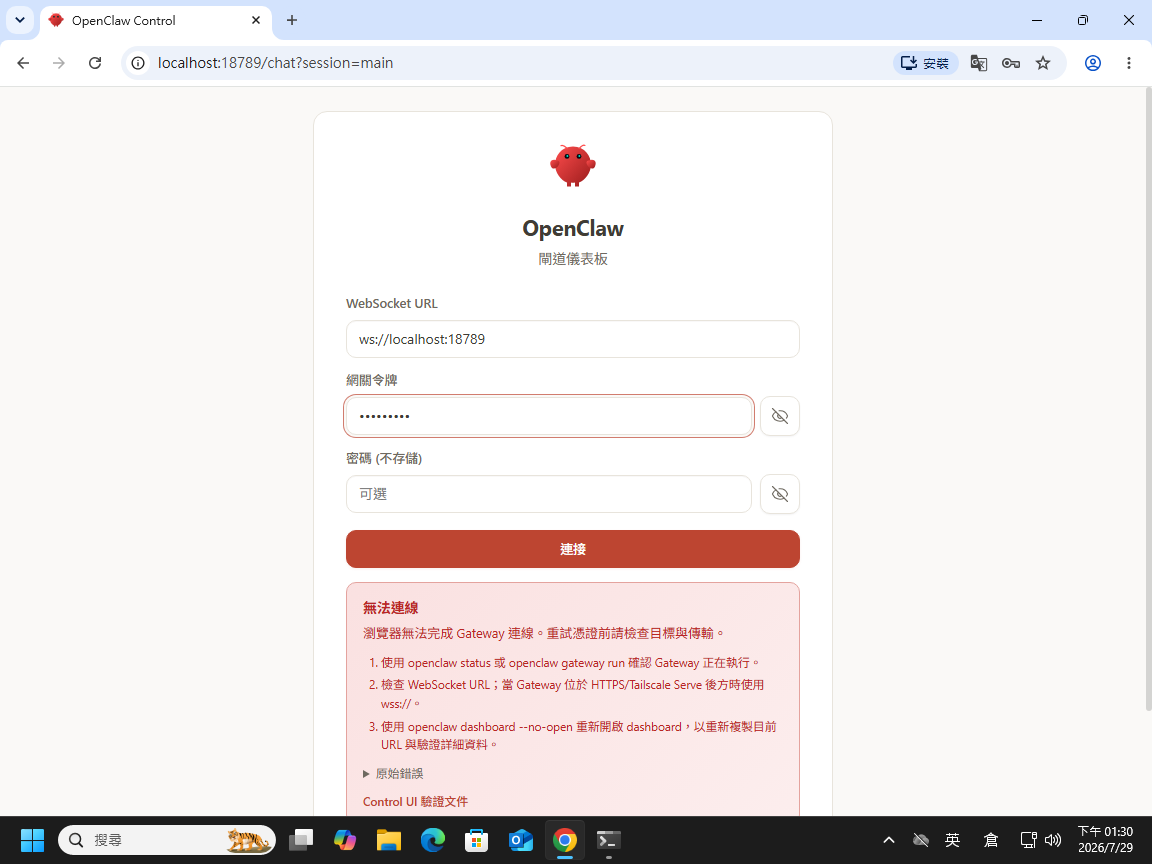
在網關令牌欄輸入剛才輸入的字串 。
進入瀏覽器對話模式,輸入: <|think|>你好,請用繁體中文回答,能幫我做什麼? 。
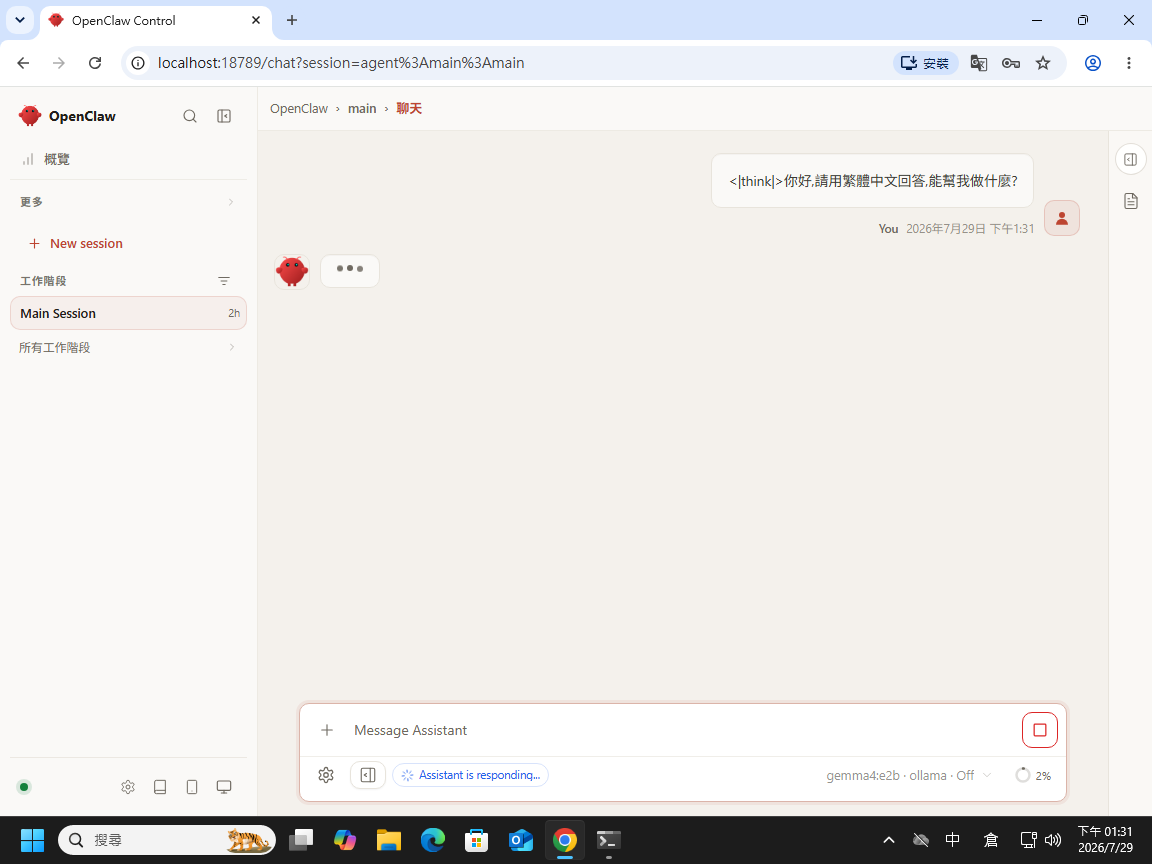
以下是AI對我們的回答 。